This is an old revision of the document!
Table of Contents
How To Setup Web Requests from RoscoLive for Events Generated on MyGeotab
This page is a step-by-step overview of how to setup event requests with video support from RoscoLive on MyGeotab.
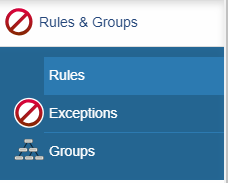
Step 1: Navigate to the Rules page
Locate the Rules & Groups menu option and select it to expand the selections. Select Rules.
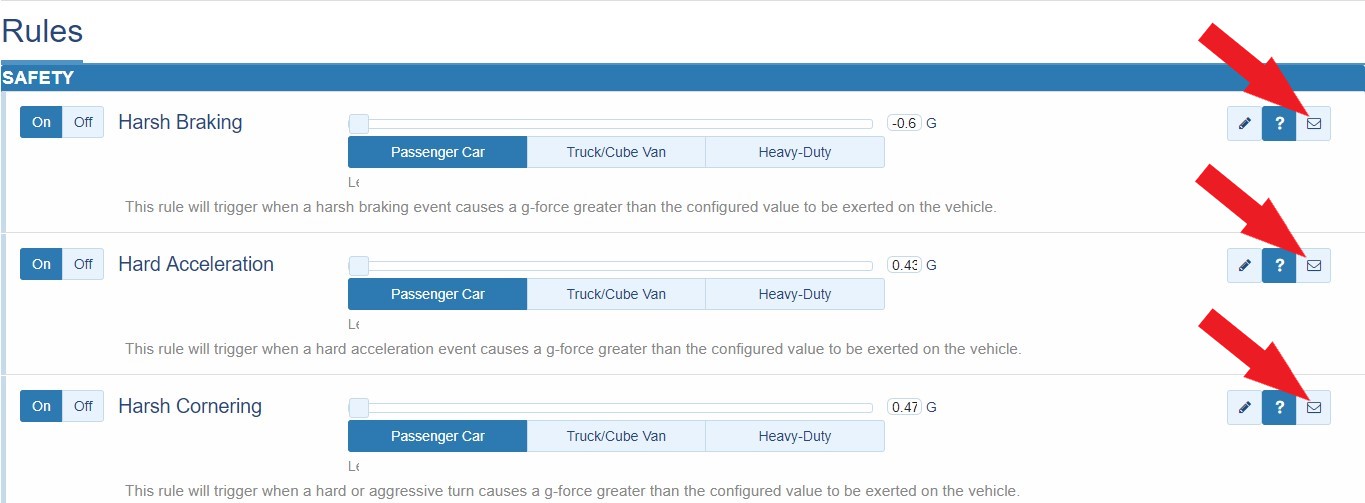
Step 2: Select Activities that Require Video Support
From this page, the user can request video support for any activity by selecting the Mail icon located to the right of the activity.
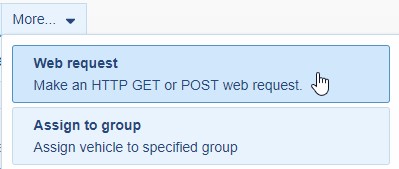
Step 3: Select Web Request from Drop-Down Menu
The NOTIFICATION RECIPIENTS menu will appear for the desired activity. Select the More drop-down menu.

From the More drop-down menu, select Web Request.
Step 4: Select the Type of Video Information Required
After selecting Web Request, the NOTIFICATION RECIPIENT box will be replaced with the Web Request selection box. There are 3 selections to choose from:
- Auto-upload Snapshot from RoscoLive - Selecting this request will upload a Snapshot (in .jpg format) from the available channels on the DVXC4 at the moment an exception occurs.
- Auto-upload Video to RoscoLive - Selecting this request will upload a Video generated based on exception time of day. The video will be approximately 20 seconds starting 10 seconds pre exception and ending 10 seconds post exception.
- Auto-upload Snapshot and Video to RoscoLive - Selecting this request will upload both the video and snapshot of the event.
After making a selection, click Add to add the selection to the Web Request list.

NOTE: More than one selection may be added, but an individual event will be uploaded for each request. If a snapshot and video of an event is desired, it is recommended to select the third request option only instead of selecting option one and two together.
The added request will now appear in the NOTIFICATION RECIPIENTS box. To remove requests, select the X button to the right of the request.

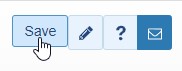
Step 5: Save Changes
After all desired requests have been added to the activity, click Save to save the settings.
A notification will appear indicating the preferences have been saved.

Repeat steps 2 through 5 for each activity where video support is desired.