Table of Contents
Camera Admin Page
This page is a step-by-step overview of the Camera Admin page on Rosco Live add-on for MyGeotab.
Navigate to the Camera Admin Page
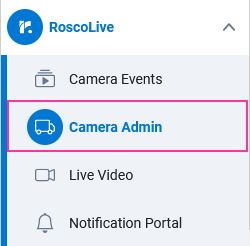
Locate and select the Camera Admin icon in the side menu.
Camera Admin Page Overview
The Camera Admin page has two functions: displays information related to your cameras and creation and management of Fleet Profiles.
On the Cameras page, if any action is needed, such as remote reformat or configuration change, you can select the desired devices and apply an action (or actions) using the Fleet Tool options in the search header bar. This page is also used to pair cameras to GO devices and shows which devices are paired to which cameras.
On the Fleet Profiles page is where you can create, edit, and otherwise manage the configuration profiles applied to cameras in your fleet. This is also where you can set a Preferred profile for when new cameras are installed into your fleet.
Cameras
The Cameras tab is the first tab displayed.

- Search Bar Group - This group of options allows you to easily search and filter devices
- Search Bar - A camera can be searched by entering the name here.
- Groups - The cameras can be filtered by Groups. For more information about camera grouping, reference this page.
- Change Config - Opens the Change Config menu which is used to select a fleet config profile to apply to the selected cameras.
- Format SD Card - Opens the Format SD Card menu which allows you to remote format the SD cards of the selected devices.
- Report - Exports a report of the information in the Cameras table. Also allows for customization of the report.
- Manage Company Key - Opens a window that displays your fleet's Company Key. This is needed to allow installers using the Rosco Installer mobile app the ability to add cameras to your fleet.
- Rosco Knowledge Base - This is a link to this wiki.
- Cameras Table - The table in which camera information and statuses are displayed in the respective columns. The columns can be dragged and dropped in the order in which you choose. the content of the columns will be detailed in a section below.
Cameras Table
This section will detail the contents of each column in the Cameras Table.
Selecting Cameras
To select cameras to perform an action on them such as pushing a new fleet config profile to them, select the drop down button located at the top right-hand corner of the page. From here you can select some options on how you would like to select cameras.

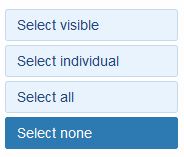
- Select Visible - Selects all devices that are currently visible on the screen. This is helpful when you want to only select a certain group of devices without selecting all devices in the fleet.
- Select Individual - Allows the user to select individual devices.
- Select All - Selects all of the devices in the fleet.
- Select None - Deselects any devices selected and hides the selection checkboxes on screen
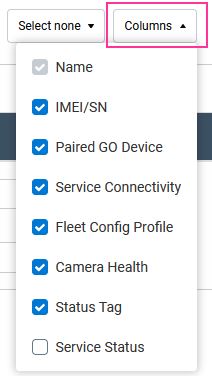
Selecting Columns
Columns can be hidden from view or displayed by selecting the Columns drop-down button and checking the box next to each column you would like shown.
Name
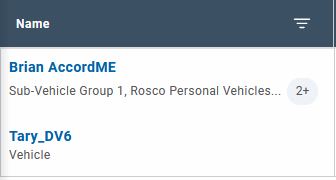
This column displays the name of the camera and below that, the MyGeotab group(s) the camera is associated with if paired to a GO device.
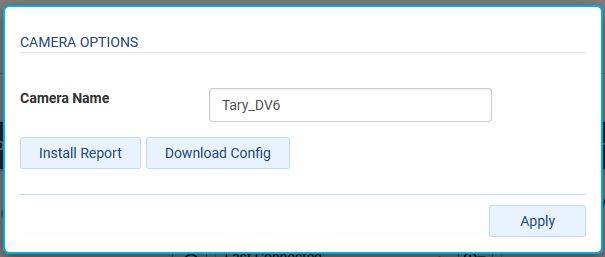
Clicking on the camera name will open a window which will allow the user to change the camera name, download the configuration file on the camera1), and download the installation report if one is available2).
IMEI/SN
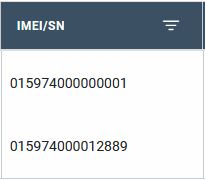 This displays the associated camera's IMEI3).
Paired GO Device
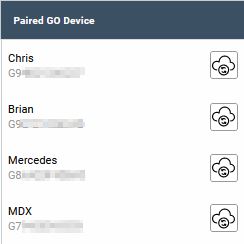 This column displays the name and s/n of the paired go device to the camera.
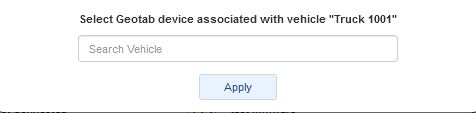
If a camera is not paired, the following will be displayed:

To pair a device, select the icon button to the right and select the GO device from the menu that appears and select apply.
Service Connectivity
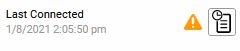
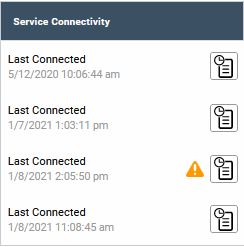 This column displays the last connected date and time of the camera. This column will also alert the user if the difference between the last connected time of the camera and the last trip of the connected GO device exceeds 24 hours.
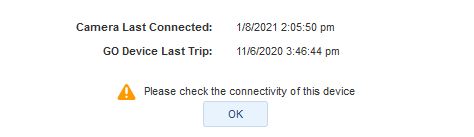
 To see both the camera last connected date and the GO device last trip, clicking the icon button on the right will open the following menu:
Fleet Config Profile
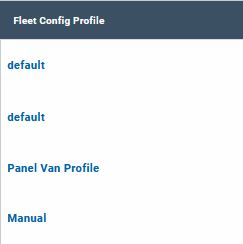 This column displays the current config profile applied to the camera. If profile says Manual, this means that a config file was manually uploaded to the camera or changed locally on the SD card.
Clicking on the profile name will take the user to the Fleet Config Profile page to view/change the profile if needed.
Camera Health
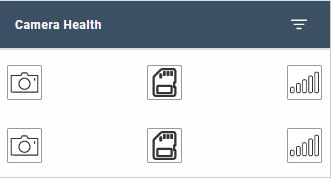
This column reports the performance of the camera to ensure proper functionality and to allow preemptive maintenance if necessary. When including this column in a CSV report, the data fields used in the determination of the statuses are included.
Icon Warning Colors There are two icon colors which indicate the severity of a potential issue:
- Yellow Warning - Indicates an issue that requires attention at the next available opportunity. These types of warnings are attributed to things that don't immediately affect the camera's ability to function or capture events, but could potentially in the future if left unchecked for too long.
- Red Warning - Indicates an issue that requires attention as soon as possible. These types of warnings are attributed to things that immediately affect the camera's functionality and/or ability to capture events. These should take priority and should be addressed as soon as possible so as not to miss any important video.
The status color is cleared after the issue affecting the camera has been resolved.
Channel Status

The Channel Status check assesses if there are any potential channel outages on enabled channels.
How It Works - Upon startup and periodically through the trip, the server will check the enabled channels for any of the following:
- Black screen
- White screen
- Blue screen
- Rainbow lines / discoloration
The presence of any of the above symptoms could mean there is an issue with the camera recording properly and Rosco technical support should be contacted for further advisement. However, before contacting Rosco it should be noted that it is possible for false-positives to occur when the channel is obstructed or covered up.
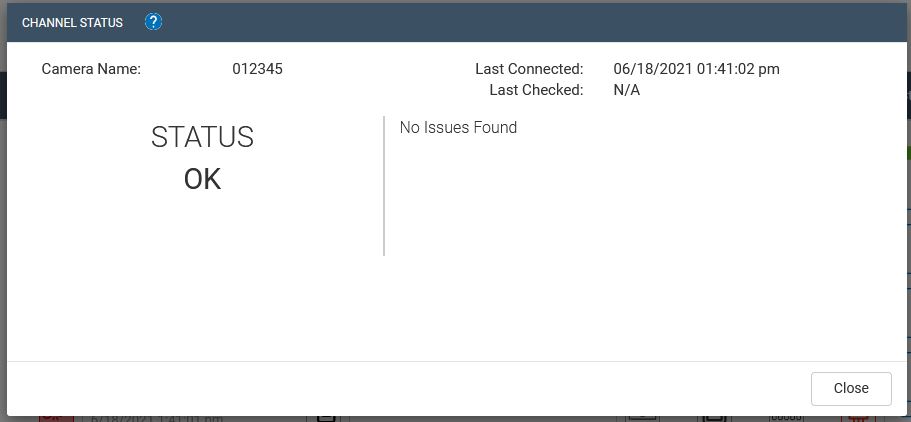
If no issues are found the status will read OK
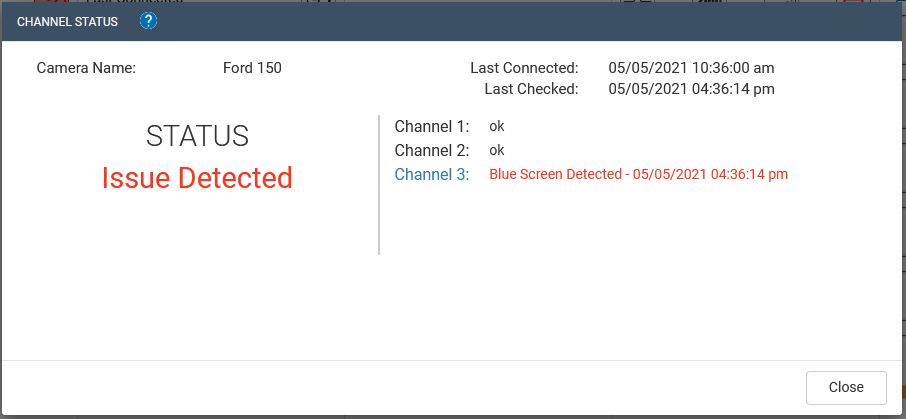
If a potential issue is detected, all enabled channels will be displayed with the status of each channel next to it. The channels that have identified an issue will have what kind of issue is detected and a timestamp for when the detection occurred.
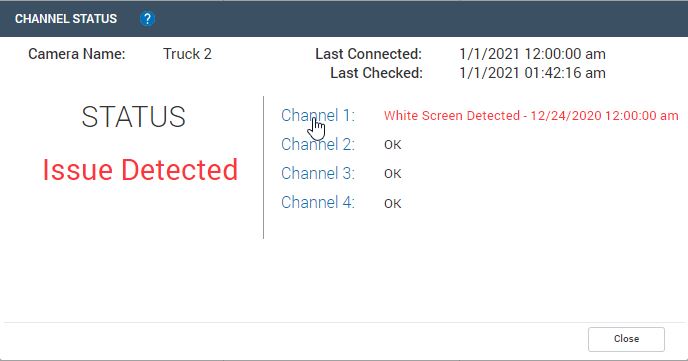
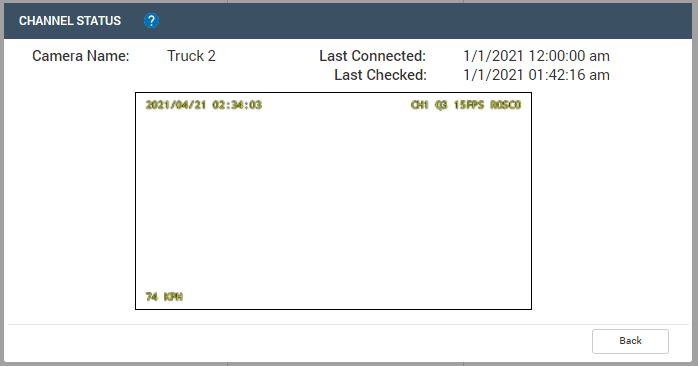
Selecting the channel will allow you to view a snapshot of the potential issue when it was found. Use this to verify if an actual failure has occurred and to send with a technical support ticket.
The status will clear upon the next check where the issue no longer occurs.
Recording Status
Currently under improvements for DV6.
Monthly Data Usage Status

The Monthly Data Status reports the camera's monthly data usage from the first of each month to date. This number resets at the first of each month. There are many factors that determine a camera's data usage from quality settings and number of channels recording to frequency of events uploaded to the cloud. Under typical circumstances, the data usage should rarely exceed the given monthly cap. The most common reason for a camera to exceed the data cap is excessive event video uploading to the cloud. This typically means the Rule settings need adjustment to lessen the frequency of event upload.
Each camera within a fleet has a monthly data cap of either 500 MB or 1 GB depending on the terms selected on your contract. For more information regarding your fleet's data plan please contact your Rosco sales representative.
The following are the data fields reported:
- Number of Uploaded Events Month To Date - Total number of events uploaded to the server by this camera from the beginning of the month to the current date.
- Most Common Event - The most common event uploaded by the camera for the month.
When a device has exceeded the monthly cap the icon will show orange. There is no immediate disconnection of service and the camera will continue to upload events like normal, but data overages may be incurred on the bill if left unchecked for too long.
Status Tag
This column allows users to save custom tags to cameras for better identification if necessary. A tag is simply a short description that can be applied across multiple devices.
To create a tag, simply click on the text box and enter any text you would like and select a color to associate the tag with. The column can be filtered by tag descriptions or tag colors.
Service Status
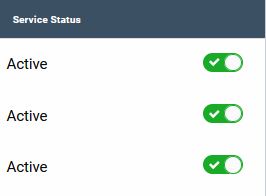 This column allows Admin users to enable or disable their cameras. When a camera is Inactive this means the camera will no longer be allowed to send or receive any data from the server. This means that no event video or snapshots will be uploaded, no live streaming will be available, no custom video requests will be allowed. The camera will still continue to record video and operate normally offline.
Fleet Profiles
The Fleet Profiles tab is the second tab on this page.
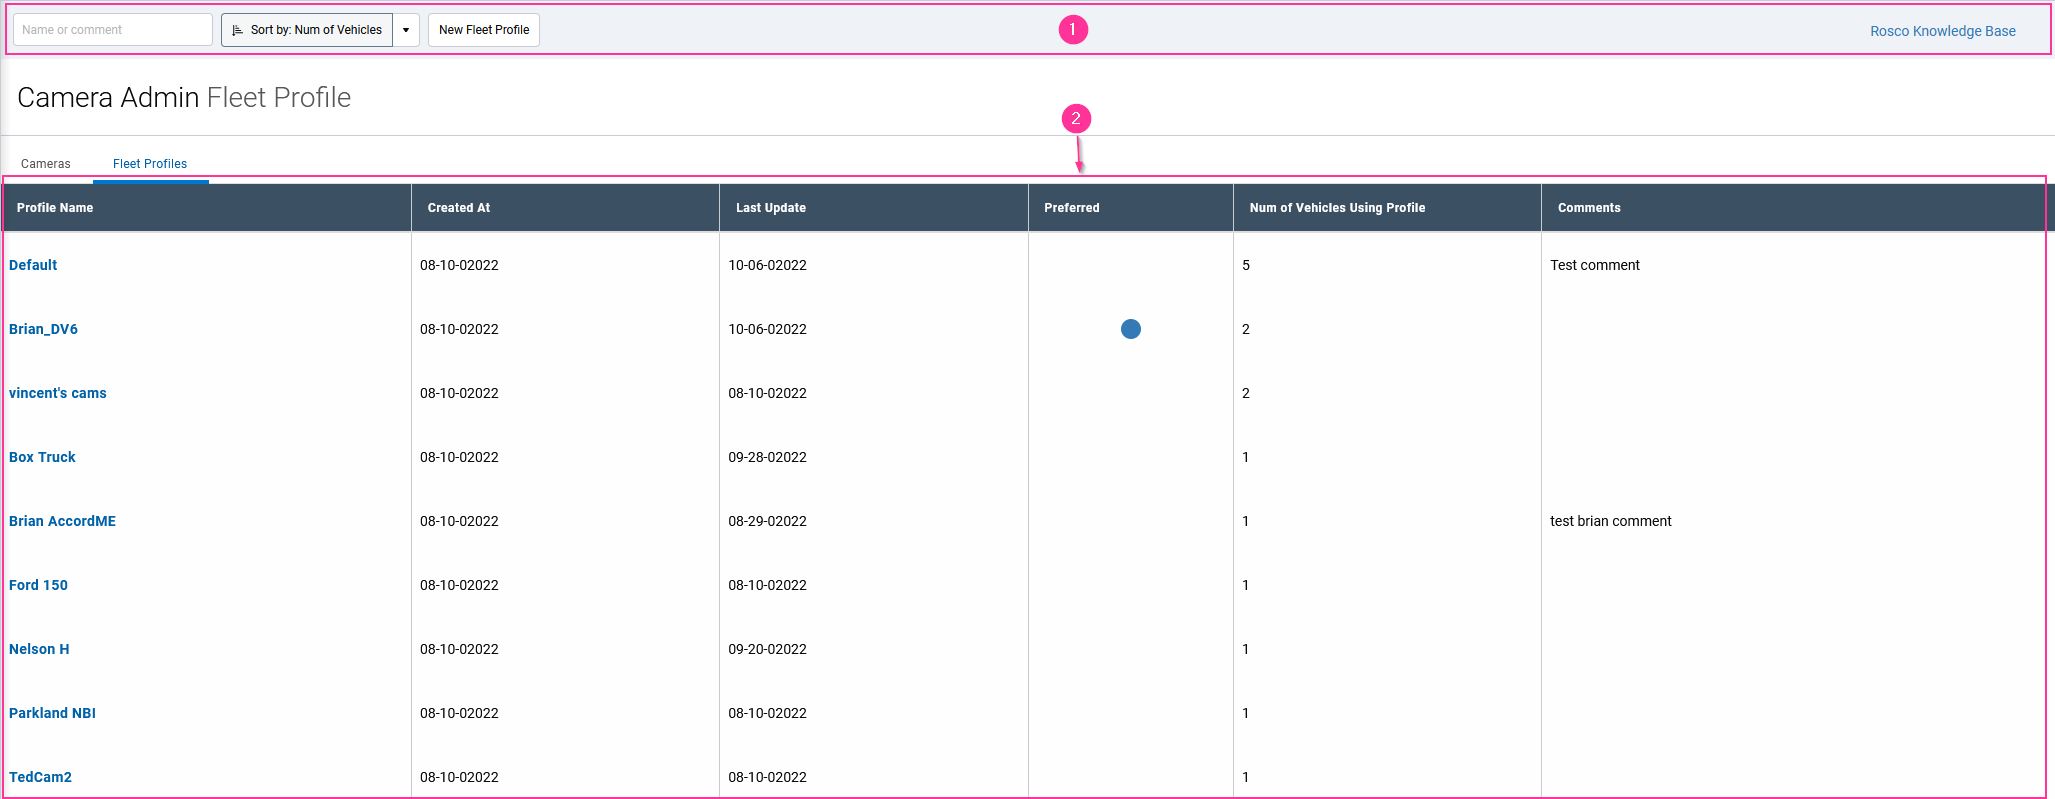
- Search Bar Group - This group of options allows you to easily search and filter profiles.
- Search Bar - A profile can be searched by entering the name here.
- New Fleet Profile - Opens a window for you to name and create a new Fleet Profile.
- Rosco Knowledge Base - link to this wiki.
- Fleet Profiles Table - Contains the fleet profiles available for your fleet.
Creating A New Profile
To create a new fleet profile, follow the steps below:
1. Click New Fleet Profile button OR create a new profile from an existing profile.
There are two different ways you can create a new profile:
1a. New Fleet Profile button
Clicking this will open up a window which will allow you to enter a name for this new profile and then create that profile in the list.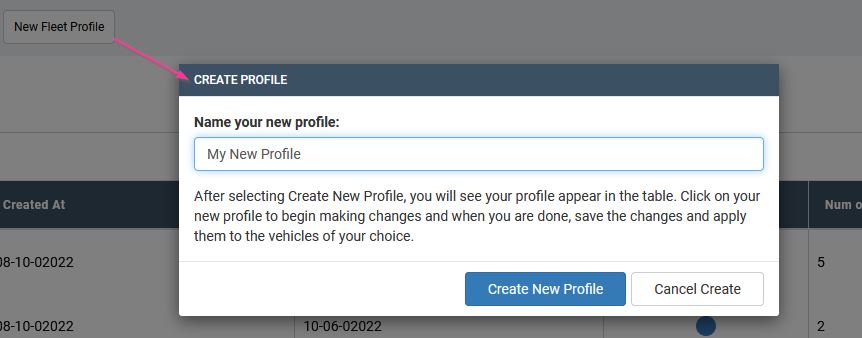
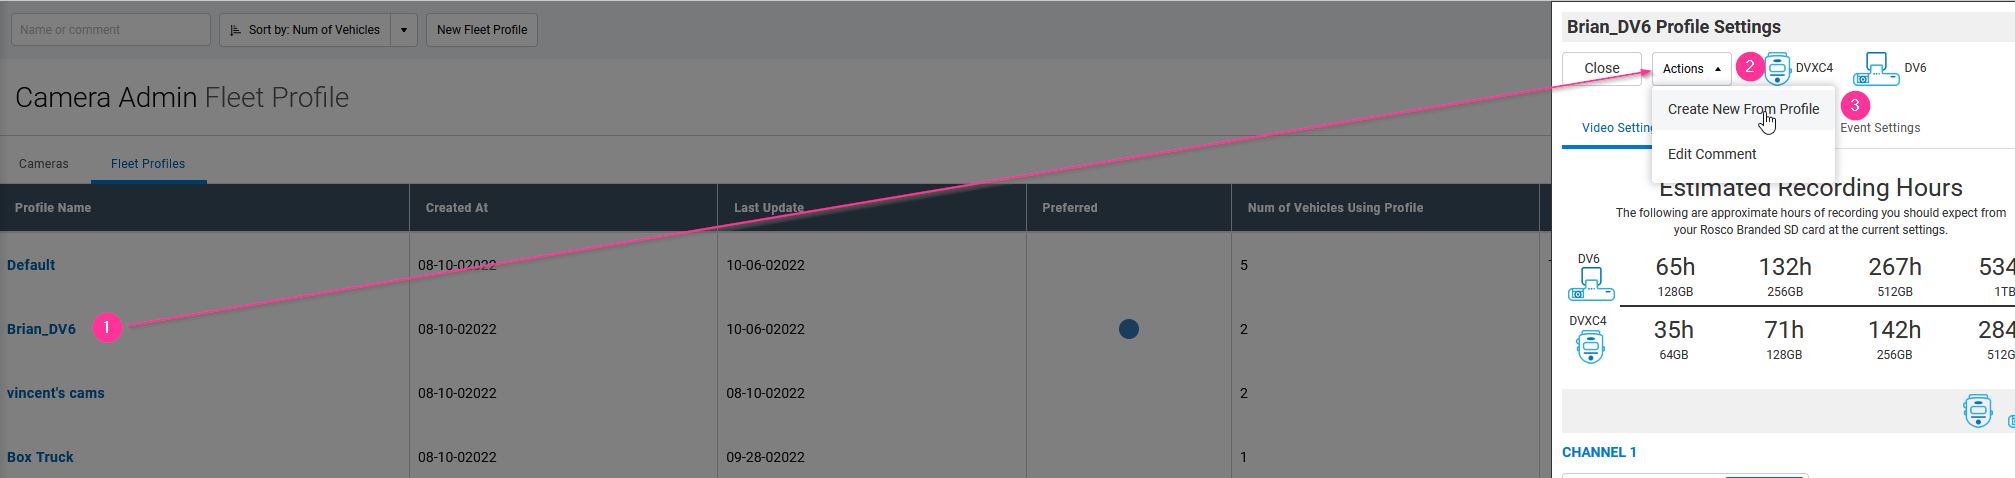
1b. Create profile from existing profile
If there is an existing profile you wish to use as a template for your new fleet profile, you can select an action to create a new profile based off the existing profile you choose. To do this:
- Select existing profile from the list.
- Click the Actions drop down button
- Click the option Create New From profile
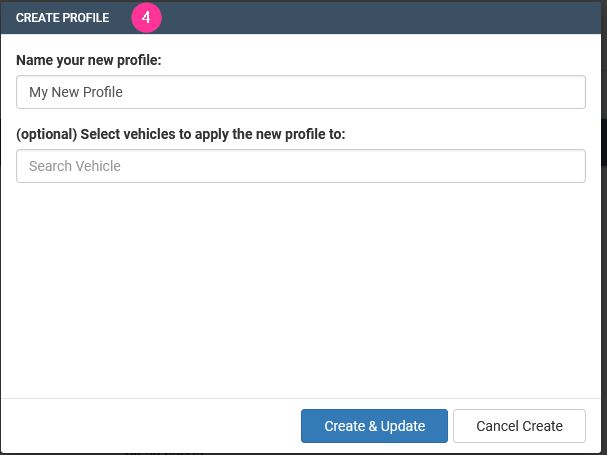
- A window will appear allowing you to enter a new name for this profile and optionally which vehicles you'd like to apply this new profile to.
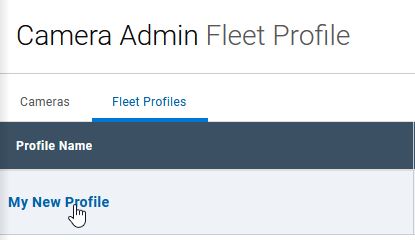
2. Find your profile in the list
After creating the new profile, it will now appear in your list of profiles on this page. Click the name in order to view it.
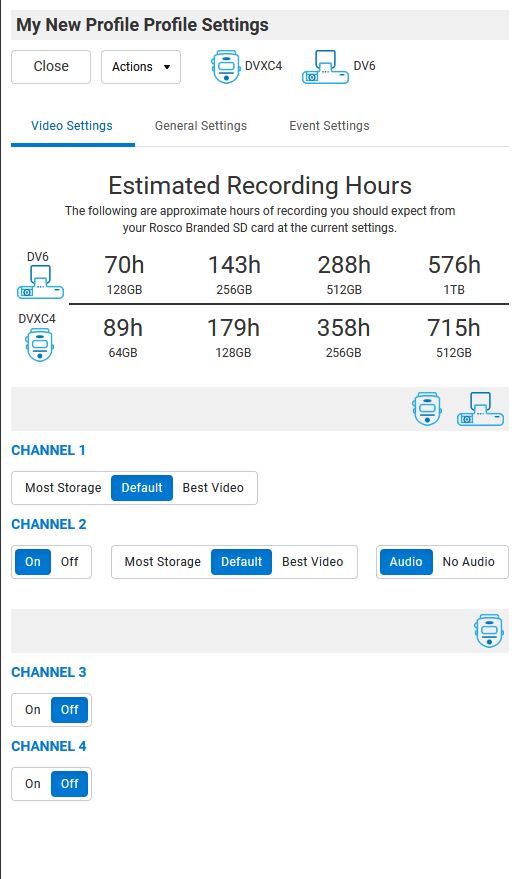
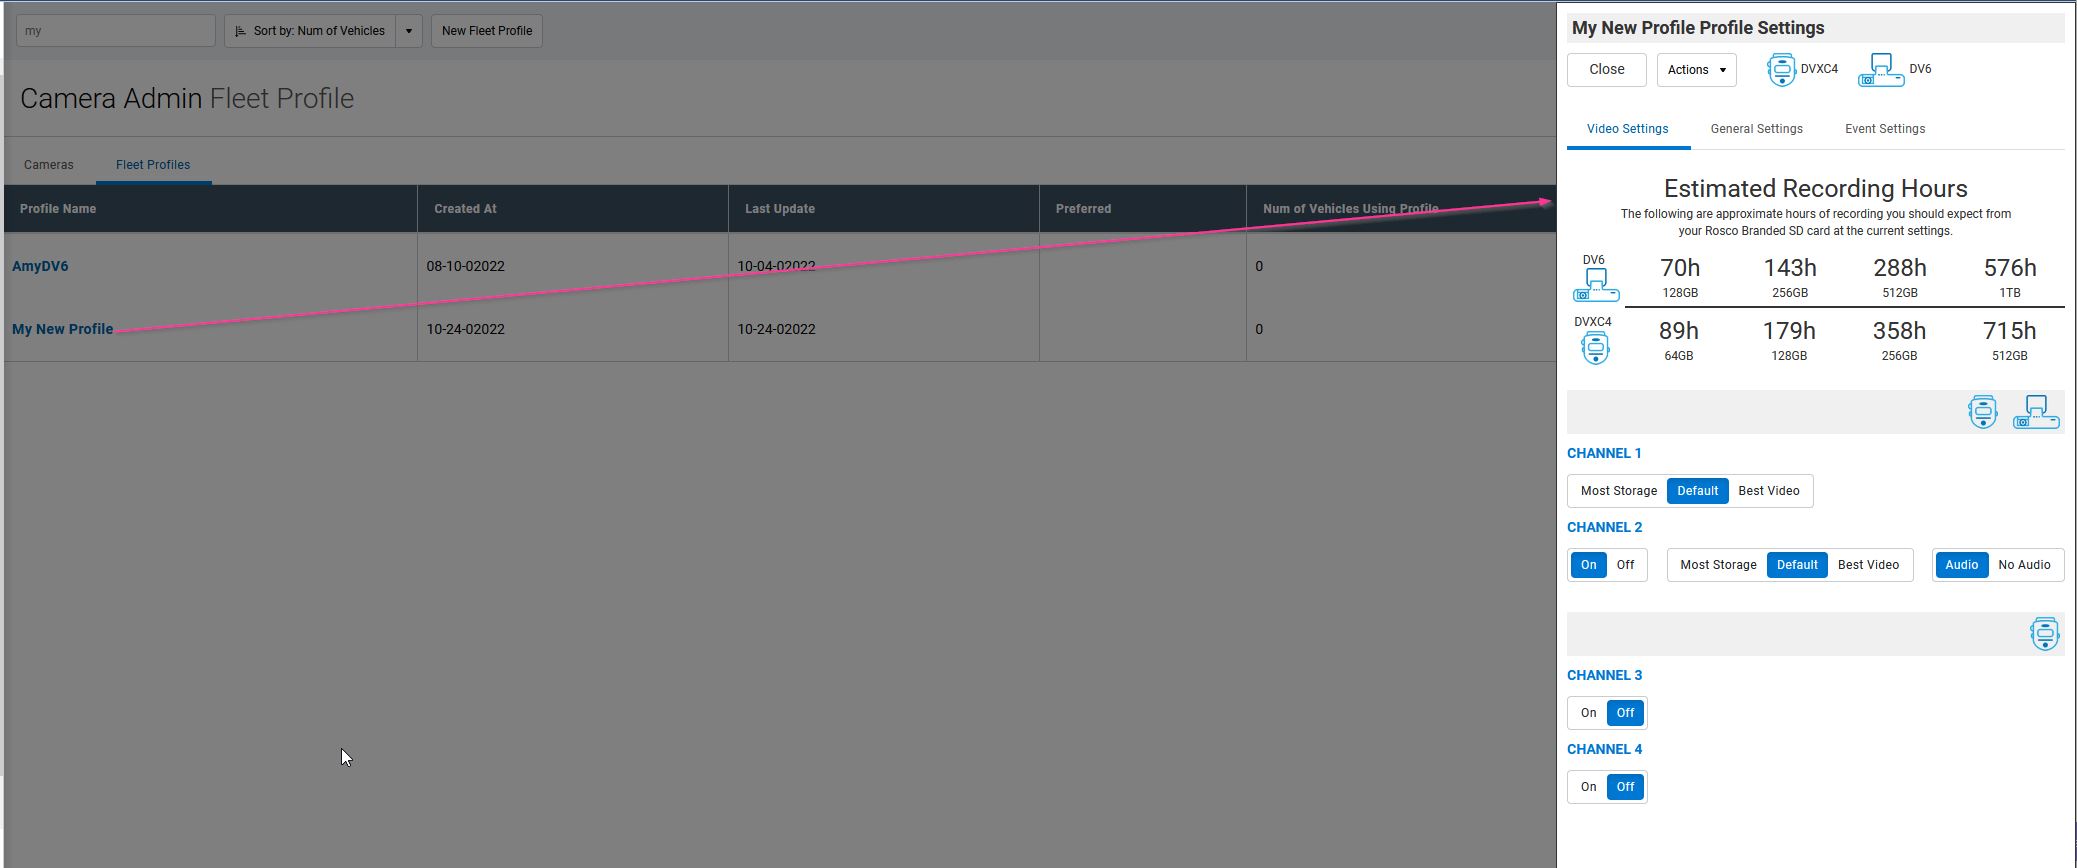
3. Edit your new profile
After clicking on your profile, a settings pane will open from the right side of the screen. In this pane is where you can see the current settings for the profile and make changes to it. There are three tabs you can select to see the corresponding camera settings: Video Settings, General Settings, and Event Settings.
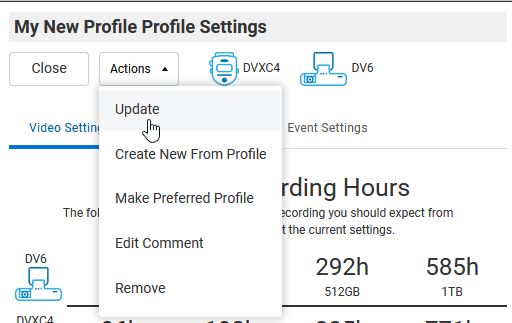
 At the top, you can see a drop-down button labeled Actions. This will be described in more detail later in this article, but for now we'll just focus on the Update action.
4. Update your profile
After making changes, the profile needs to be saved. Click the Actions drop-down button and select Update.
If you did not choose to push the profile to any vehicles when creating it, a window will open up giving us the same option whether to select any vehicles in the fleet you want to push the new profile to. If you choose to do so, click the Search Vehicle box and select any vehicles you wish to apply this new profile to from the list. As you do so, you will see them appear in the space below. To de-select a vehicle, simply click the check box next to the name to remove it from the list. This step is optional and not required.
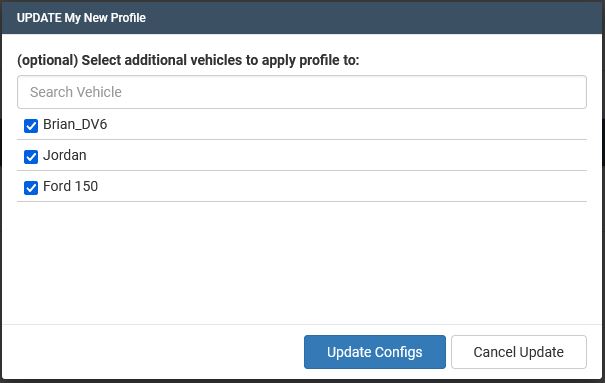
If you did choose to push the profile to any vehicles when creating it, you will be required to push the updated profile settings to those cameras in order to save the changes made. You are still given the option to add any additional cameras if you desire.
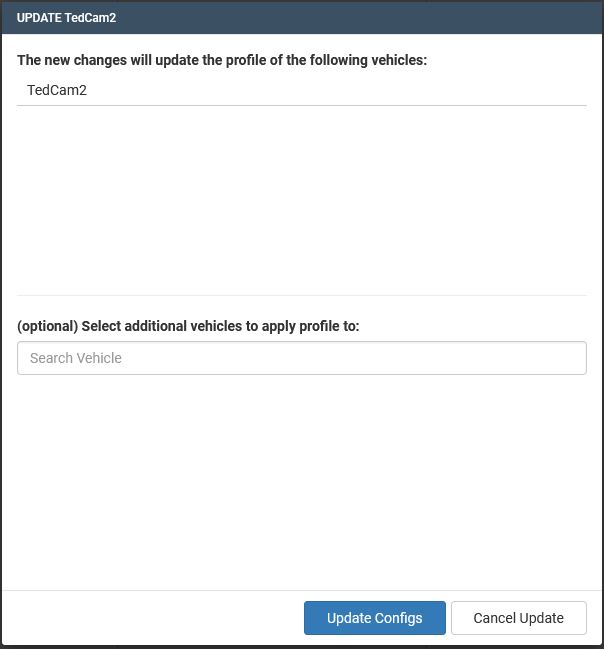
Click Update Configs to save your changes and push updated config profiles to any cameras selected. After doing so, you will see your changes reflected in the settings profile and in the Fleet Profile column on the Cameras page if any cameras had changes pushed to them as well.
Preferred Profile
After installation is complete for a DV6, a default fleet profile is sent to the camera as initial settings after it comes online for the first time. For most users, these settings are fine for their needs but there may be times when you want your new cameras to have different settings other than the default. A fleet profile in your company can be designated as a Preferred profile for this purpose.
What is a Preferred Profile?
It is exactly how it sounds; it is a profile setting you prefer to be sent to your new cameras instead of the default. There can only be one(1) preferred profile in a company at a time.
To set a profile as Preferred, do the following:
1. Open the profile you want to make Preferred
Find the existing profile in the profiles list and click it to open the side panel for that profile.
2. Select Make Preferred Profile from the Actions drop down menu.
This will open a window asking you to confirm if you want to make this choice. It also informs you what the current preferred profile is.
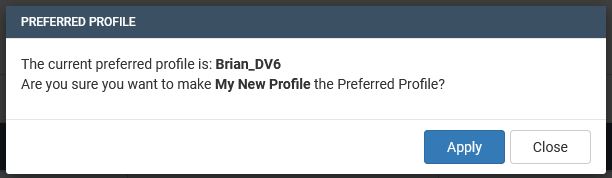
3. Click Apply to make the new preferred profile
If you wish to continue, click Apply to make the selected fleet profile the preferred one.
From this point forward, any new DV6 cameras installed into your company will now have this profile pushed to them instead of whatever the previous preferred profile was. You can confirm the preferred profile by looking at the Preferred column and seeing the blue dot indicating the current preferred profile.

FAQ
- I don't see this option for my profile? - This means that the profile you are working with is already the preferred profile and no further action is necessary.
- I can't update my preferred profile - To make any changes to the preferred profile, you must first make another profile the preferred profile before making changes. After making the changes, you can reassign that profile to the preferred profile.
Profile Actions
There are a number of actions that can be taken on a profile. Some actions are contextual, so you may not see them at times.
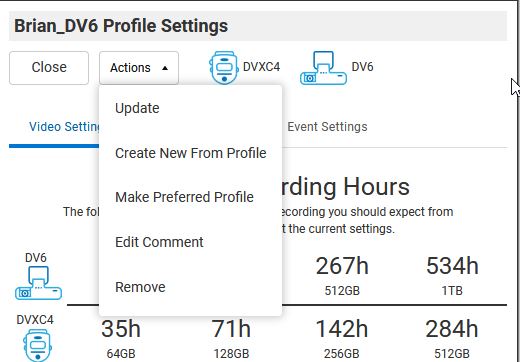
Update
This action updates a profile with any changes made to it and if there are any vehicles with that profile applied, pushes new config profiles to those cameras.4)
Create New From Profile
Use this Action to use the current selected profile as a template for a new profile. The new profile created using this action will have the same settings as the profile it was created from. After creation you can then make any additional changes needed. This is most helpful if there are only small changes needed for the new profile.
Make Preferred Profile
Designates the selected profile as the Preferred profile for new DV6 installations. This profile will be sent to all newly installed DV6 cameras.
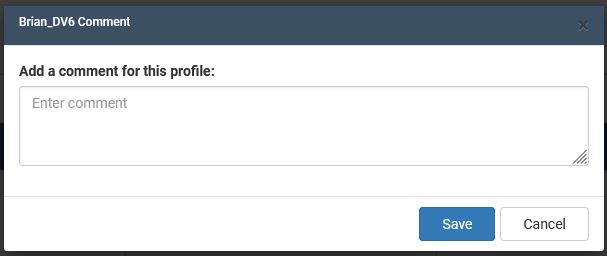
Edit Comment
Allows a user to create or edit the comments for a profile. A window will open with a text box the user can edit and save changes to. These comments will be visible in the Fleet Profile table next to the profile. These comments are global and not unique to the user, meaning whatever one user comments, another user can see and edit.
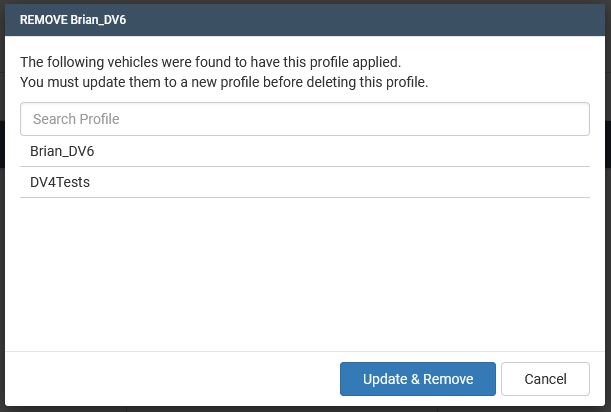
Remove
Removes, or otherwise deletes, a fleet profile. If there are any vehicles with this profile applied, you must re-assign another profile to these cameras before you are allowed to delete the profile. You can do this through the window that opens by selecting another profile when clicking the input box.
If you do not see this action available for a profile, it means either:
- The selected profile is a Default profile and cannot be removed.
- The selected profile is a Preferred profile.
Fleet Profiles Table
The following are the available columns in the Fleet Profiles table.
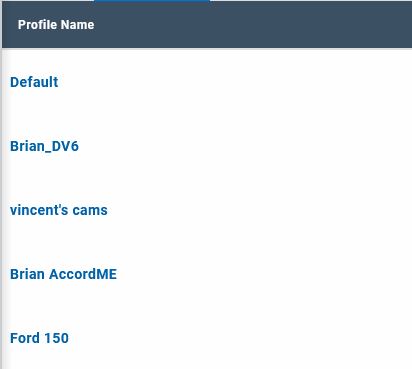
Profile Name
The names of fleet profiles available in your fleet. Clicking on the name will open up the right side panel to allow you to edit the profile or perform any available actions.
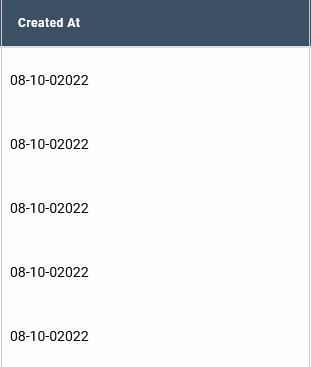
Created At
The timestamp when the profile was created.
Last Update
The timestamp of the latest update to the profile. If this time and the Created At time are the same, then this means that no updates have happened since creation.
Preferred
This column indicates what profile is currently selected as the Preferred profile. The preferred profile will have a blue circle in this column.
Num of Vehicle Using Profile
This number indicates the number of vehicles the profile is currently applied to.
Comments
Any comments left in a profile will appear in this column.