This is an old revision of the document!
Table of Contents
Camera Events Page
This page is a step-by-step overview of the Camera Events page on the RoscoLive add-on for MyGeotab.
Reviewing Geotab Events
Navigate to Camera Events Page
Locate and select the Camera Events menu option within MyGeotab.

The first tab on this page is the Daily Events page, the second is Flagged Events which is covered in a later section.

Search for Vehicle and Date Period
Events from all of the cameras within the fleet will appear on this page ordered the latest event first.

- Vehicle Name and Driver Name
- To search for events related to a specific vehicle, enter the name in the Vehicle search box.
- To search for events related to a specific driver, enter the name of the driver in the Driver search box.
- Date Selector - Default to the current date. To select a different date, click on the date and select a different date from the calendar. Dates that are greyed out in the calendar have no events recorded for that day.
To narrow the results further, a filter can be applied by selecting the desired filters from the Filters drop-down menu.

Selected filters appear light blue, while deselected ones appear dark blue. By default, all filters are deselected. When a filter option is selected, only results matching the search criteria and filter setting will appear in the list.
The events are by default sorted by date and time in descending order. If you would like to order the events by a different criteria, select the down arrow next to Sort Filter button to reveal a drop-down menu of options of sort criteria.
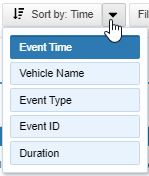
- Event Time - Default. Sorts events chronologically by date and time in descending order.
- Vehicle Name - Sorts events by vehicle name in descending order.
- Event Type - Sorts events by event (Exception) type in descending order.
- Event ID - Sorts events by event ID in descending order.
- Duration - Sorts events by event duration in descending order.
Reviewing the Event
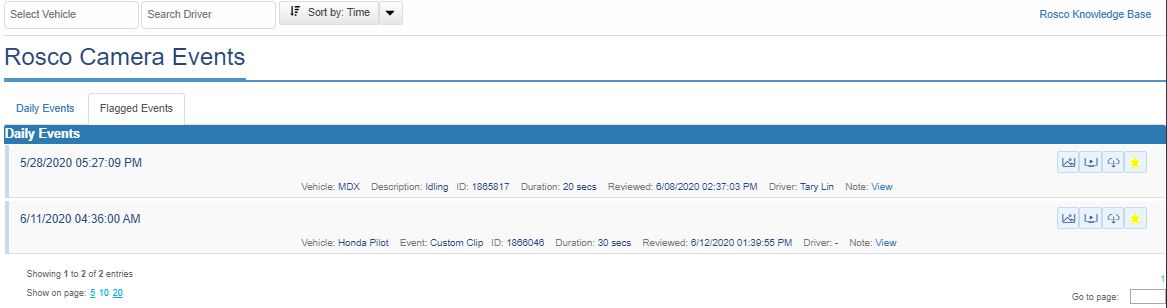
Once the desired camera event is located, it will look similar to this:

The date and time the event occurred is displayed to the left.
NOTE: The time displayed next to the event is displayed in the timezone you are in when accessing the website. If the camera is in a different timezone than you are, expect to see that difference when reviewing the video of the event.
The data displayed with all events is the following:
- Vehicle - Name of the camera that uploaded the event
- Event - The type of exception that generated this event.
- ID - Event ID unique to this event. Can be used to search and reference events for later review.
- Duration - The duration of the event video. Most events will be 20 seconds long.
- Reviewed - Date and time the event was first watched. If it is blank then the event has not yet been viewed.
- Driver - The driver name that is associated with the GO device that generated this exception. If no driver name, this field will be blank.
- Note - A field where a note can be left in a event.Selectview to open the note dialog to enter a note.
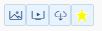
There are four options for reviewing the event.
NOTE: Depending on the rule settings, some options may not be available for the selected event.

The options for reviewing the event are from, left to right:
- View Snapshots
- View Clip
- Download Clip
- Flag Clip
View Snapshots
When this option is selected, the View Snapshot window will appear. This window will display the snapshots taken from the time the event occured.
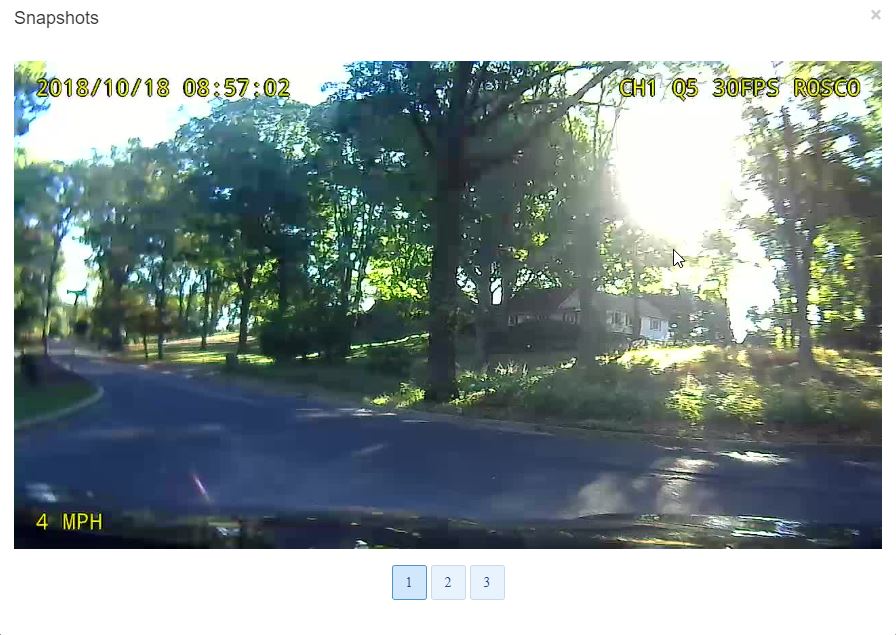
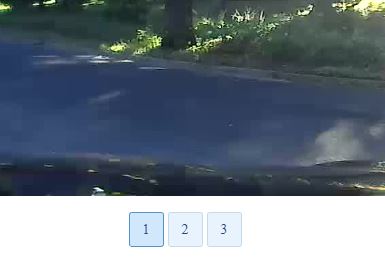
The numbers seen on the bottom of the window can be selected to view the snapshot from each channel available.
View Clip
When this option is selected, the Advanced Window Player will appear.

This player will display all channels available in a quad-view format. If a channel has audio enabled, the audio can be isolated by clicking on the camera view in the player for that channel. A few other features to note:
- Meta Data - The meta data for the event is displayed on the right side of the player. It contains information about the name of the vehicle, the date and time the event occured, firmware version, speed, direction, RPM, and G-sensor acceleration. It is important to note that the Geotab GO device provides the speed, RPM, and g-sensor acceleration metadata only at the exact time an event occurs. If a custom video is requested, the metadata from the GO device will not be present due to no actual exception occurring.
- Google Maps Overlay - This map displays the vehicle's location and direction of travel when the exception occurred.
- Video Download - When selected, these buttons download the exception video clip in the format specified on the button. The NVR Video button downloads the video in .nvr file format that can be played back in DV-Pro5. MP4 Video button downloads the video in .mp4 file format.
Download Clip
When this option is selected, the event video file will be downloaded in .nvr format to your computer. This file format must be played back using the DV-Pro5 player.
 Note: The browser used in this picture is Google Chrome. The download notification may differ between different browsers.
Flag Clip
Selecting this will flag the event and it will be available in the Flagged Event tab. A flagged event will have a solid-yellow star icon. To un-flag an event, simply select the star icon to toggle it back. More information about flagged events and the Flagged Event tab is available in a later section.
Making Custom Video Requests
To view a non-exception related video clip, a Custom Video Request must be made.
Select Custom Video Request
Locate the Custom Video Request button at the top of the page and select it to drop down the custom video request window.
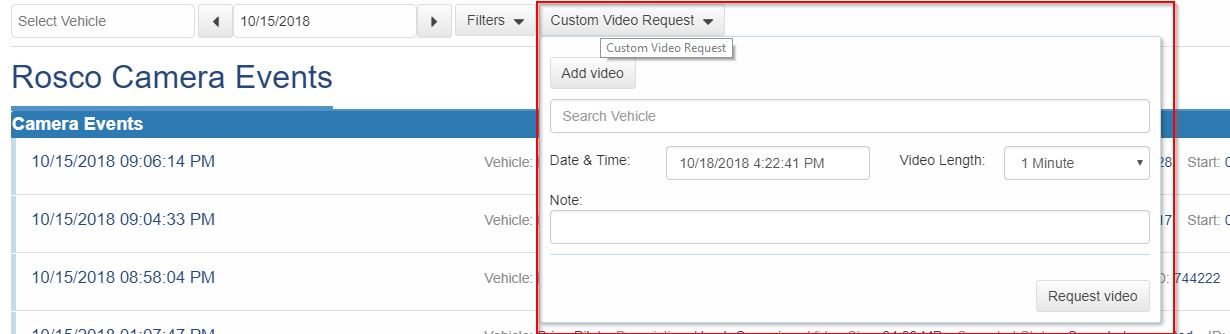
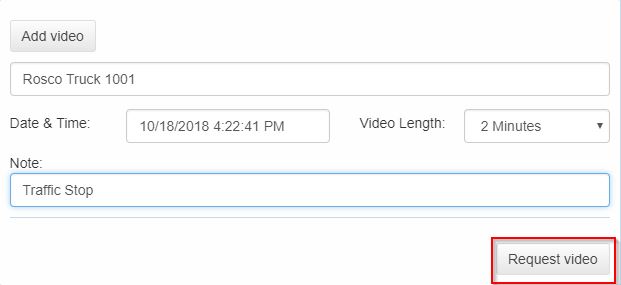
Requesting the Custom Video
Select the desired vehicle, date and time, and desired length of the video clip. Text can be added in the Note field for any pertinent information regarding the video clip. After entering the relevant information, select Request Video.
After the request has been submitted, a confirmation will appear at the top right corner of the page that the custom video request was successful. The custom video request will now appear on the Camera Events Page. Note that the event type is custom.

Whenever the vehicle is within network connectivity, the server will request the custom video from the camera and then the video will be uploaded to the Camera Events page for viewing. If the vehicle is not within network range or otherwise not connecting to the server, the video request will be queued until the vehicle comes back online and then the request will be sent.
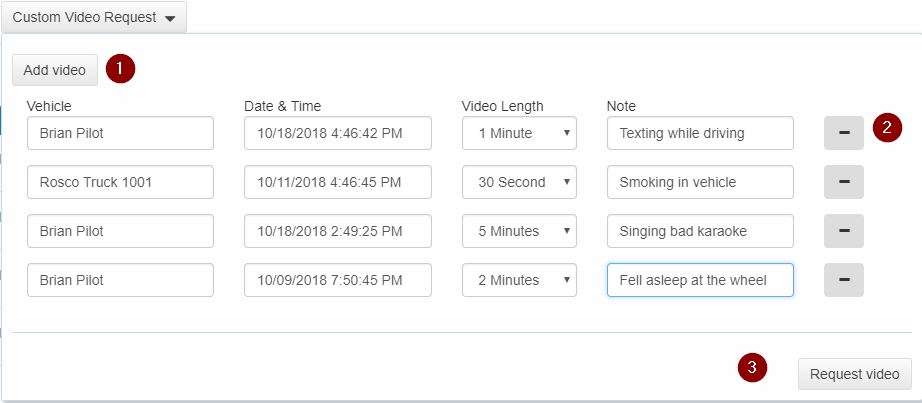
Requesting multiple custom video requests
If more than one video request is desired, click Add Video1). This will add an additional field to request another custom video. The Add Video button can be selected multiple times to add more request fields to the list. To remove a request from the list, select the dash button located to the right of each request2). After all requests are entered, select Request Video3) to send off the requests.
Flagged Events Page
The Flagged Events page is located on the Camera Events page by selecting the tab at the top left of the page.
The Flagged Events page is a place where you can come and review all of the events that you have flagged without having to search for them in the Daily Events page.
Notice that this page is very similar to the Daily Events page. You may still search by vehicle or driver name and use the Sort By filter at the top of this page, however some things are absent like the date selector. This page by default displays the events in descending chronological order.
When an event is flagged from the Daily Events page it will look similar to this:
It will then be available for review on the Flagged Events page. If you wish to un-flag an event, it can be done from either the Daily Events page or the Flagged Events page. When you do so, the event will be removed from the Flagged Events page, this does not delete the event, it simply removes it from the page. It is still available for review in the Daily Events page.